1
Register or Log In
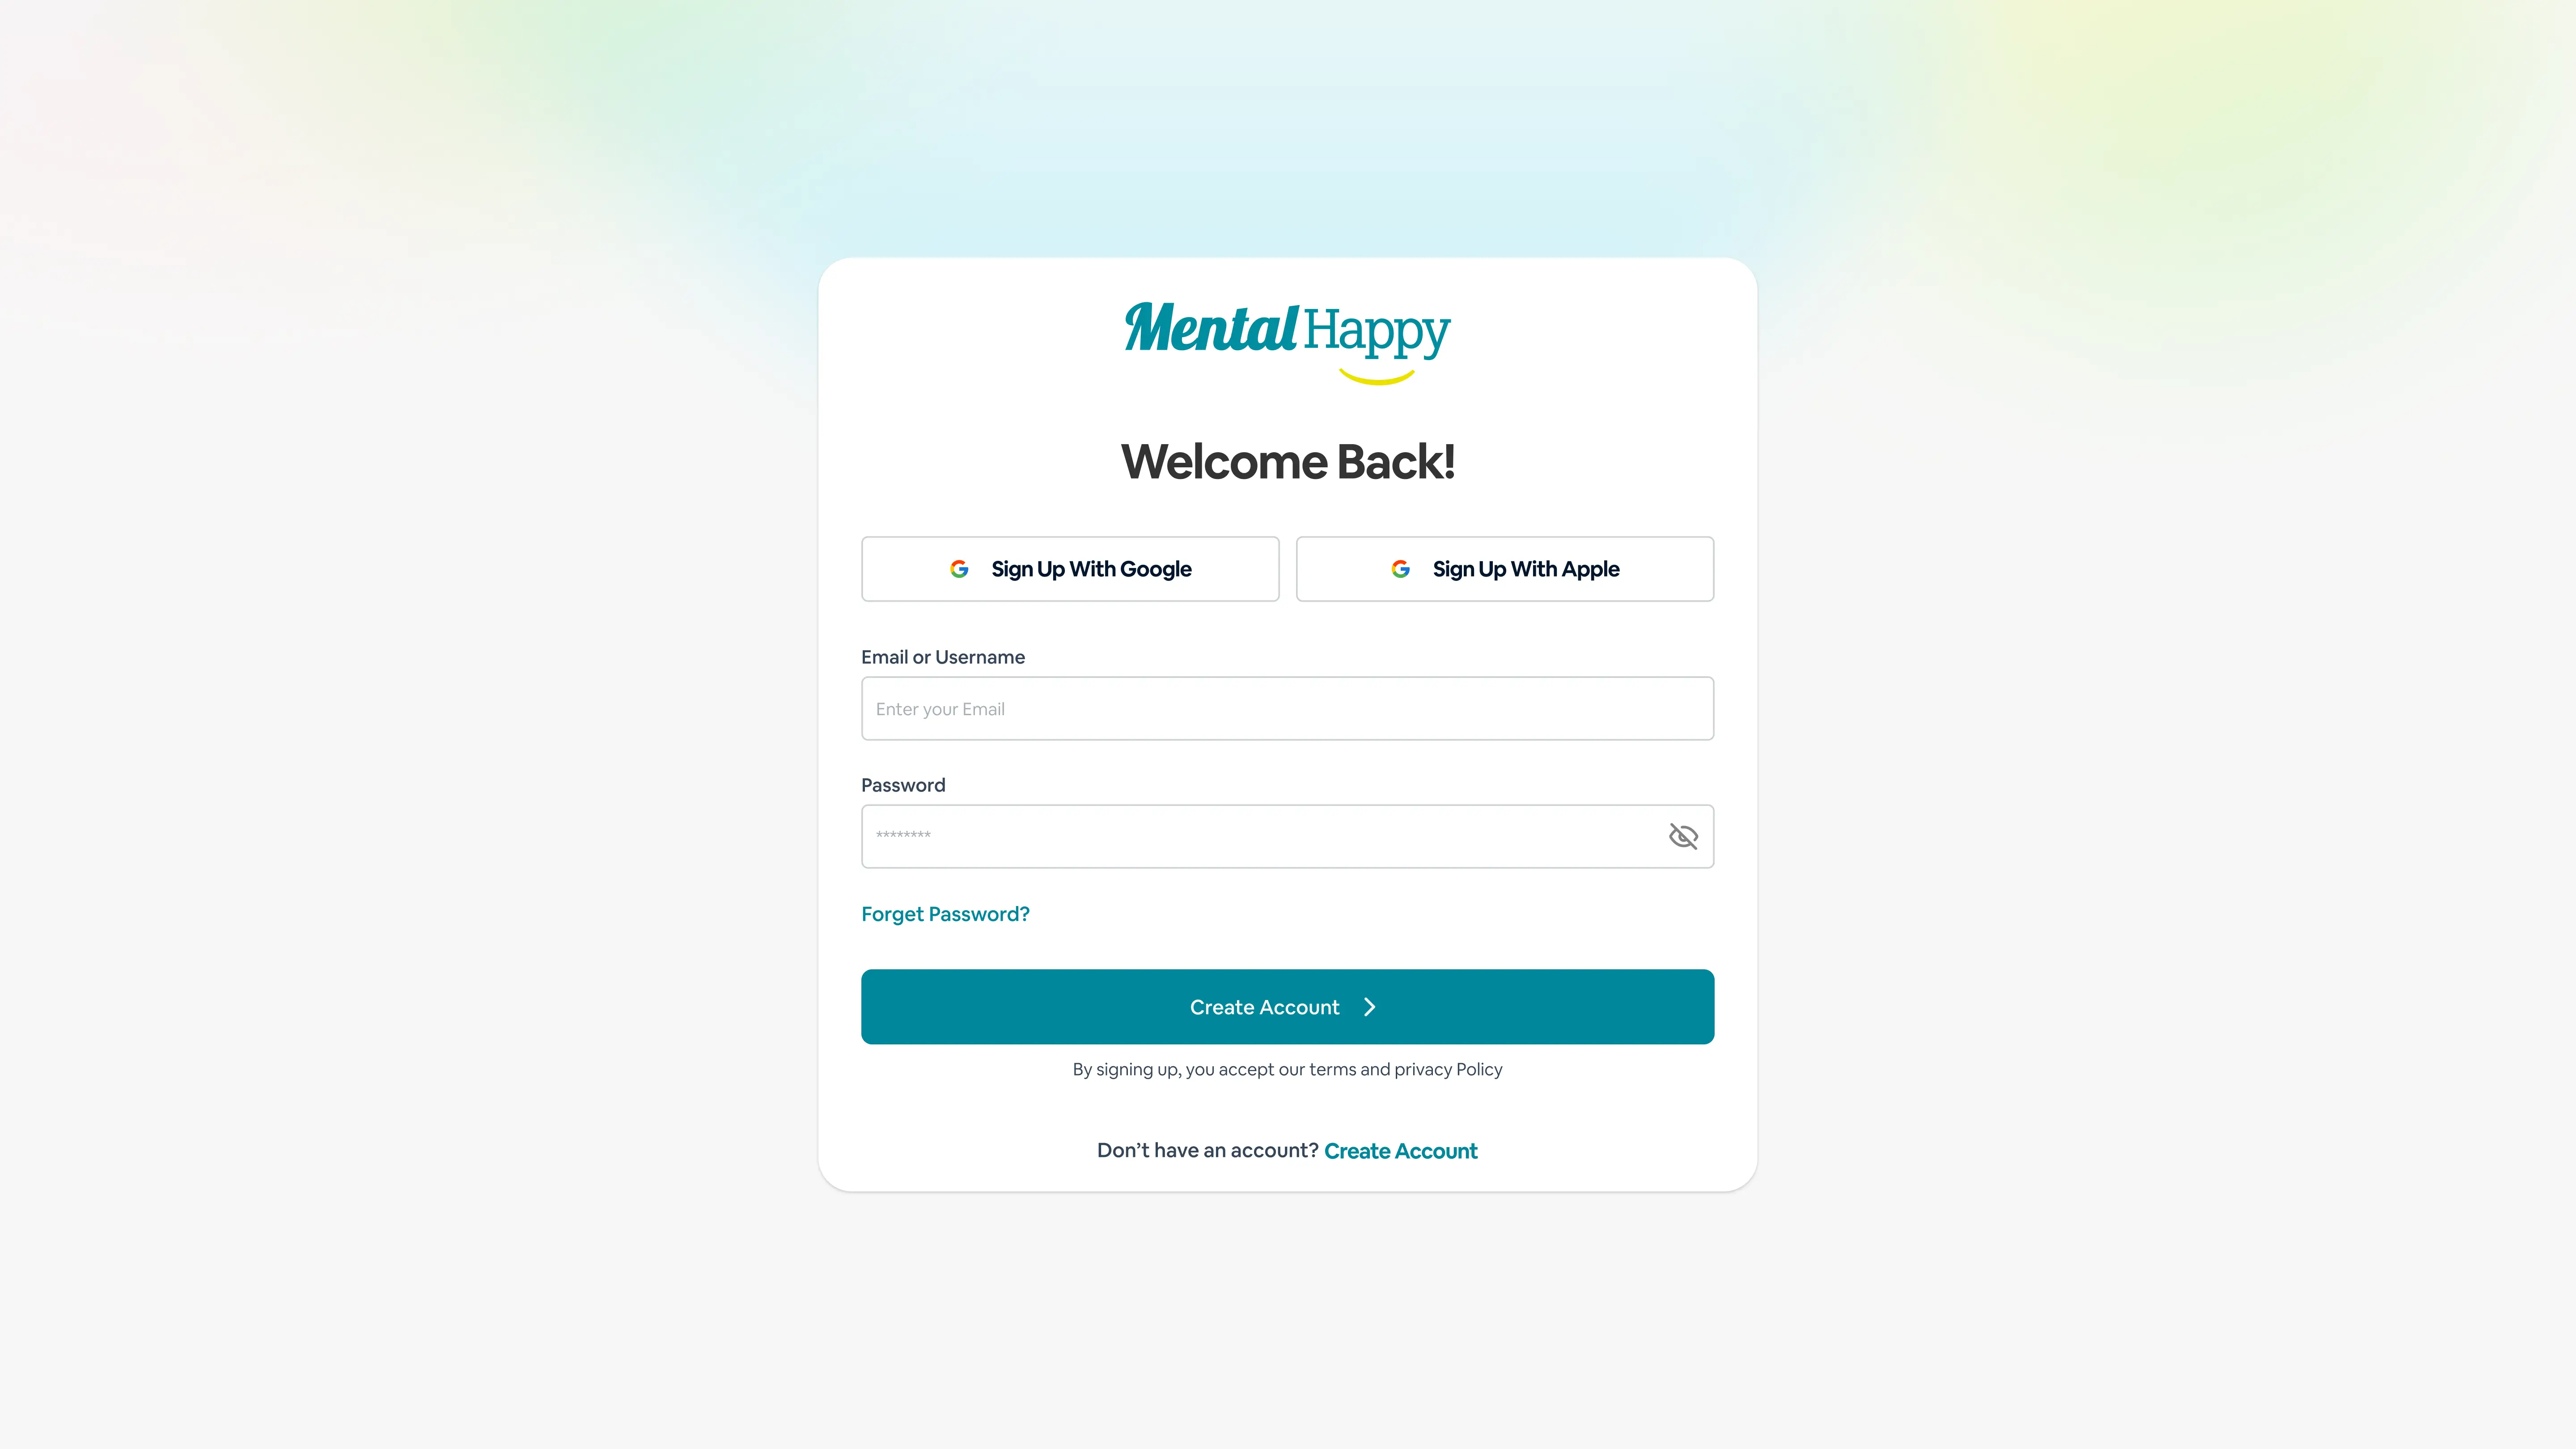

Creating or accessing your account so the platform can identify you.
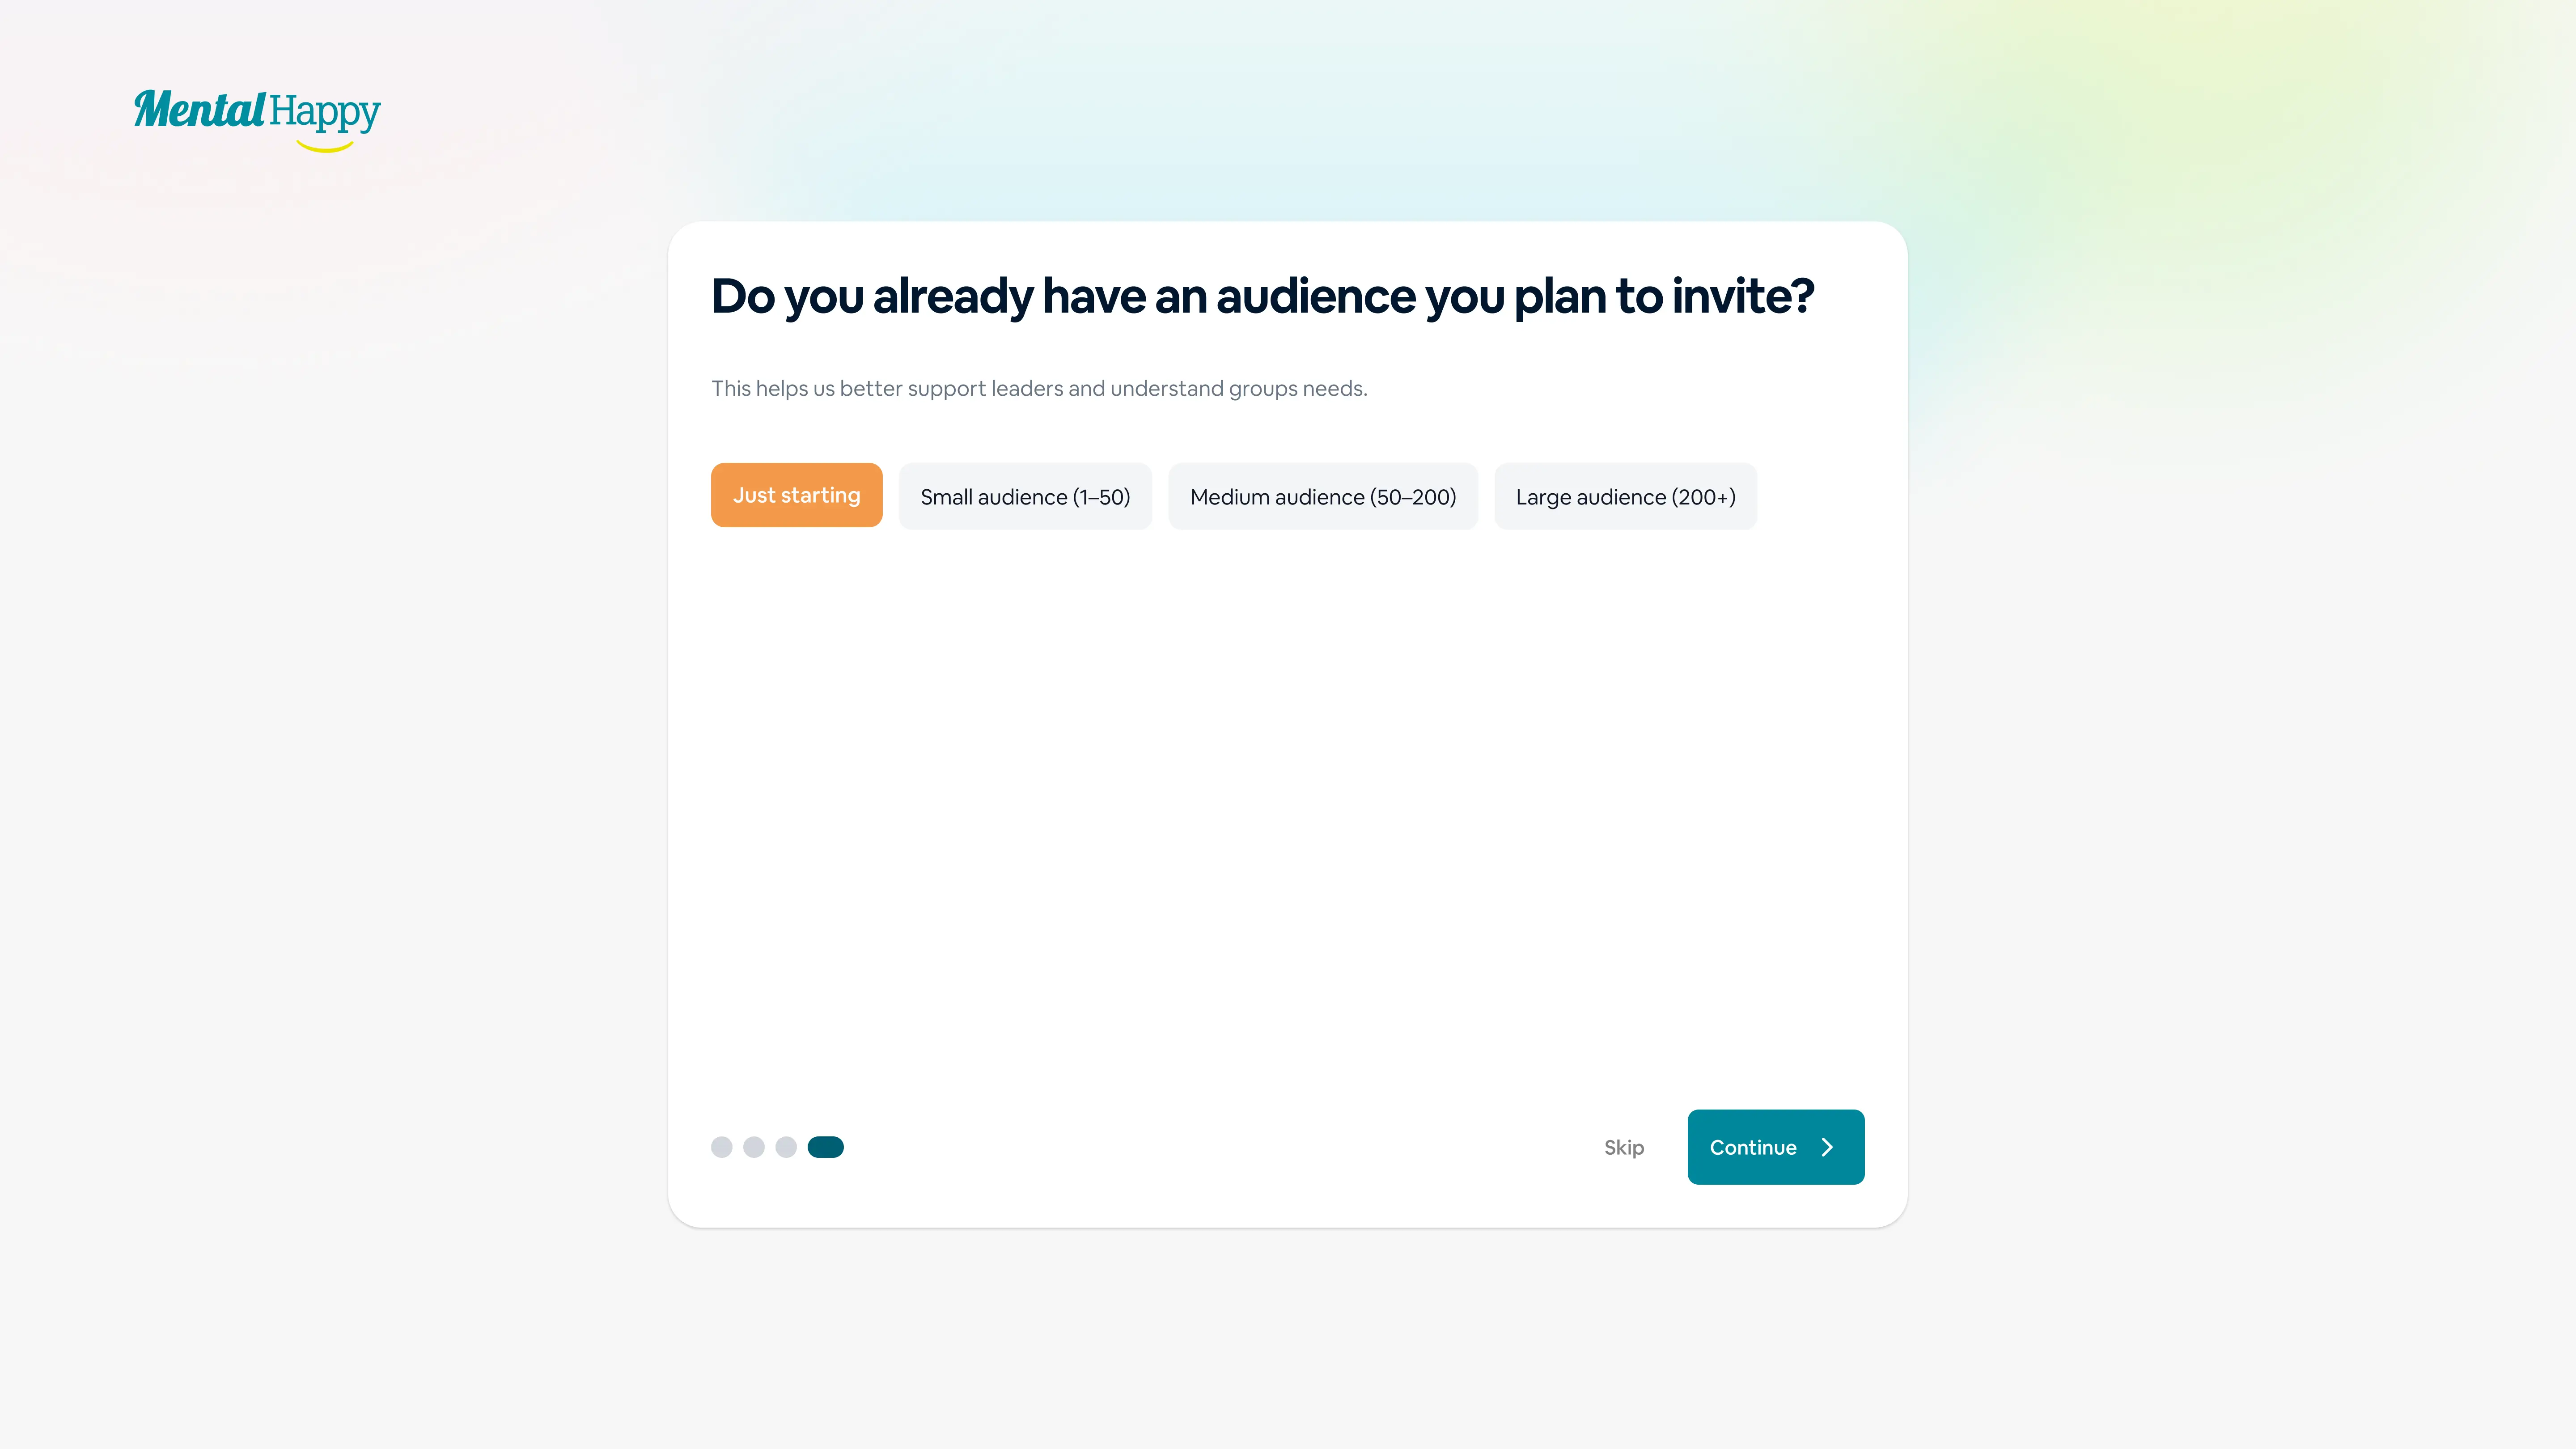
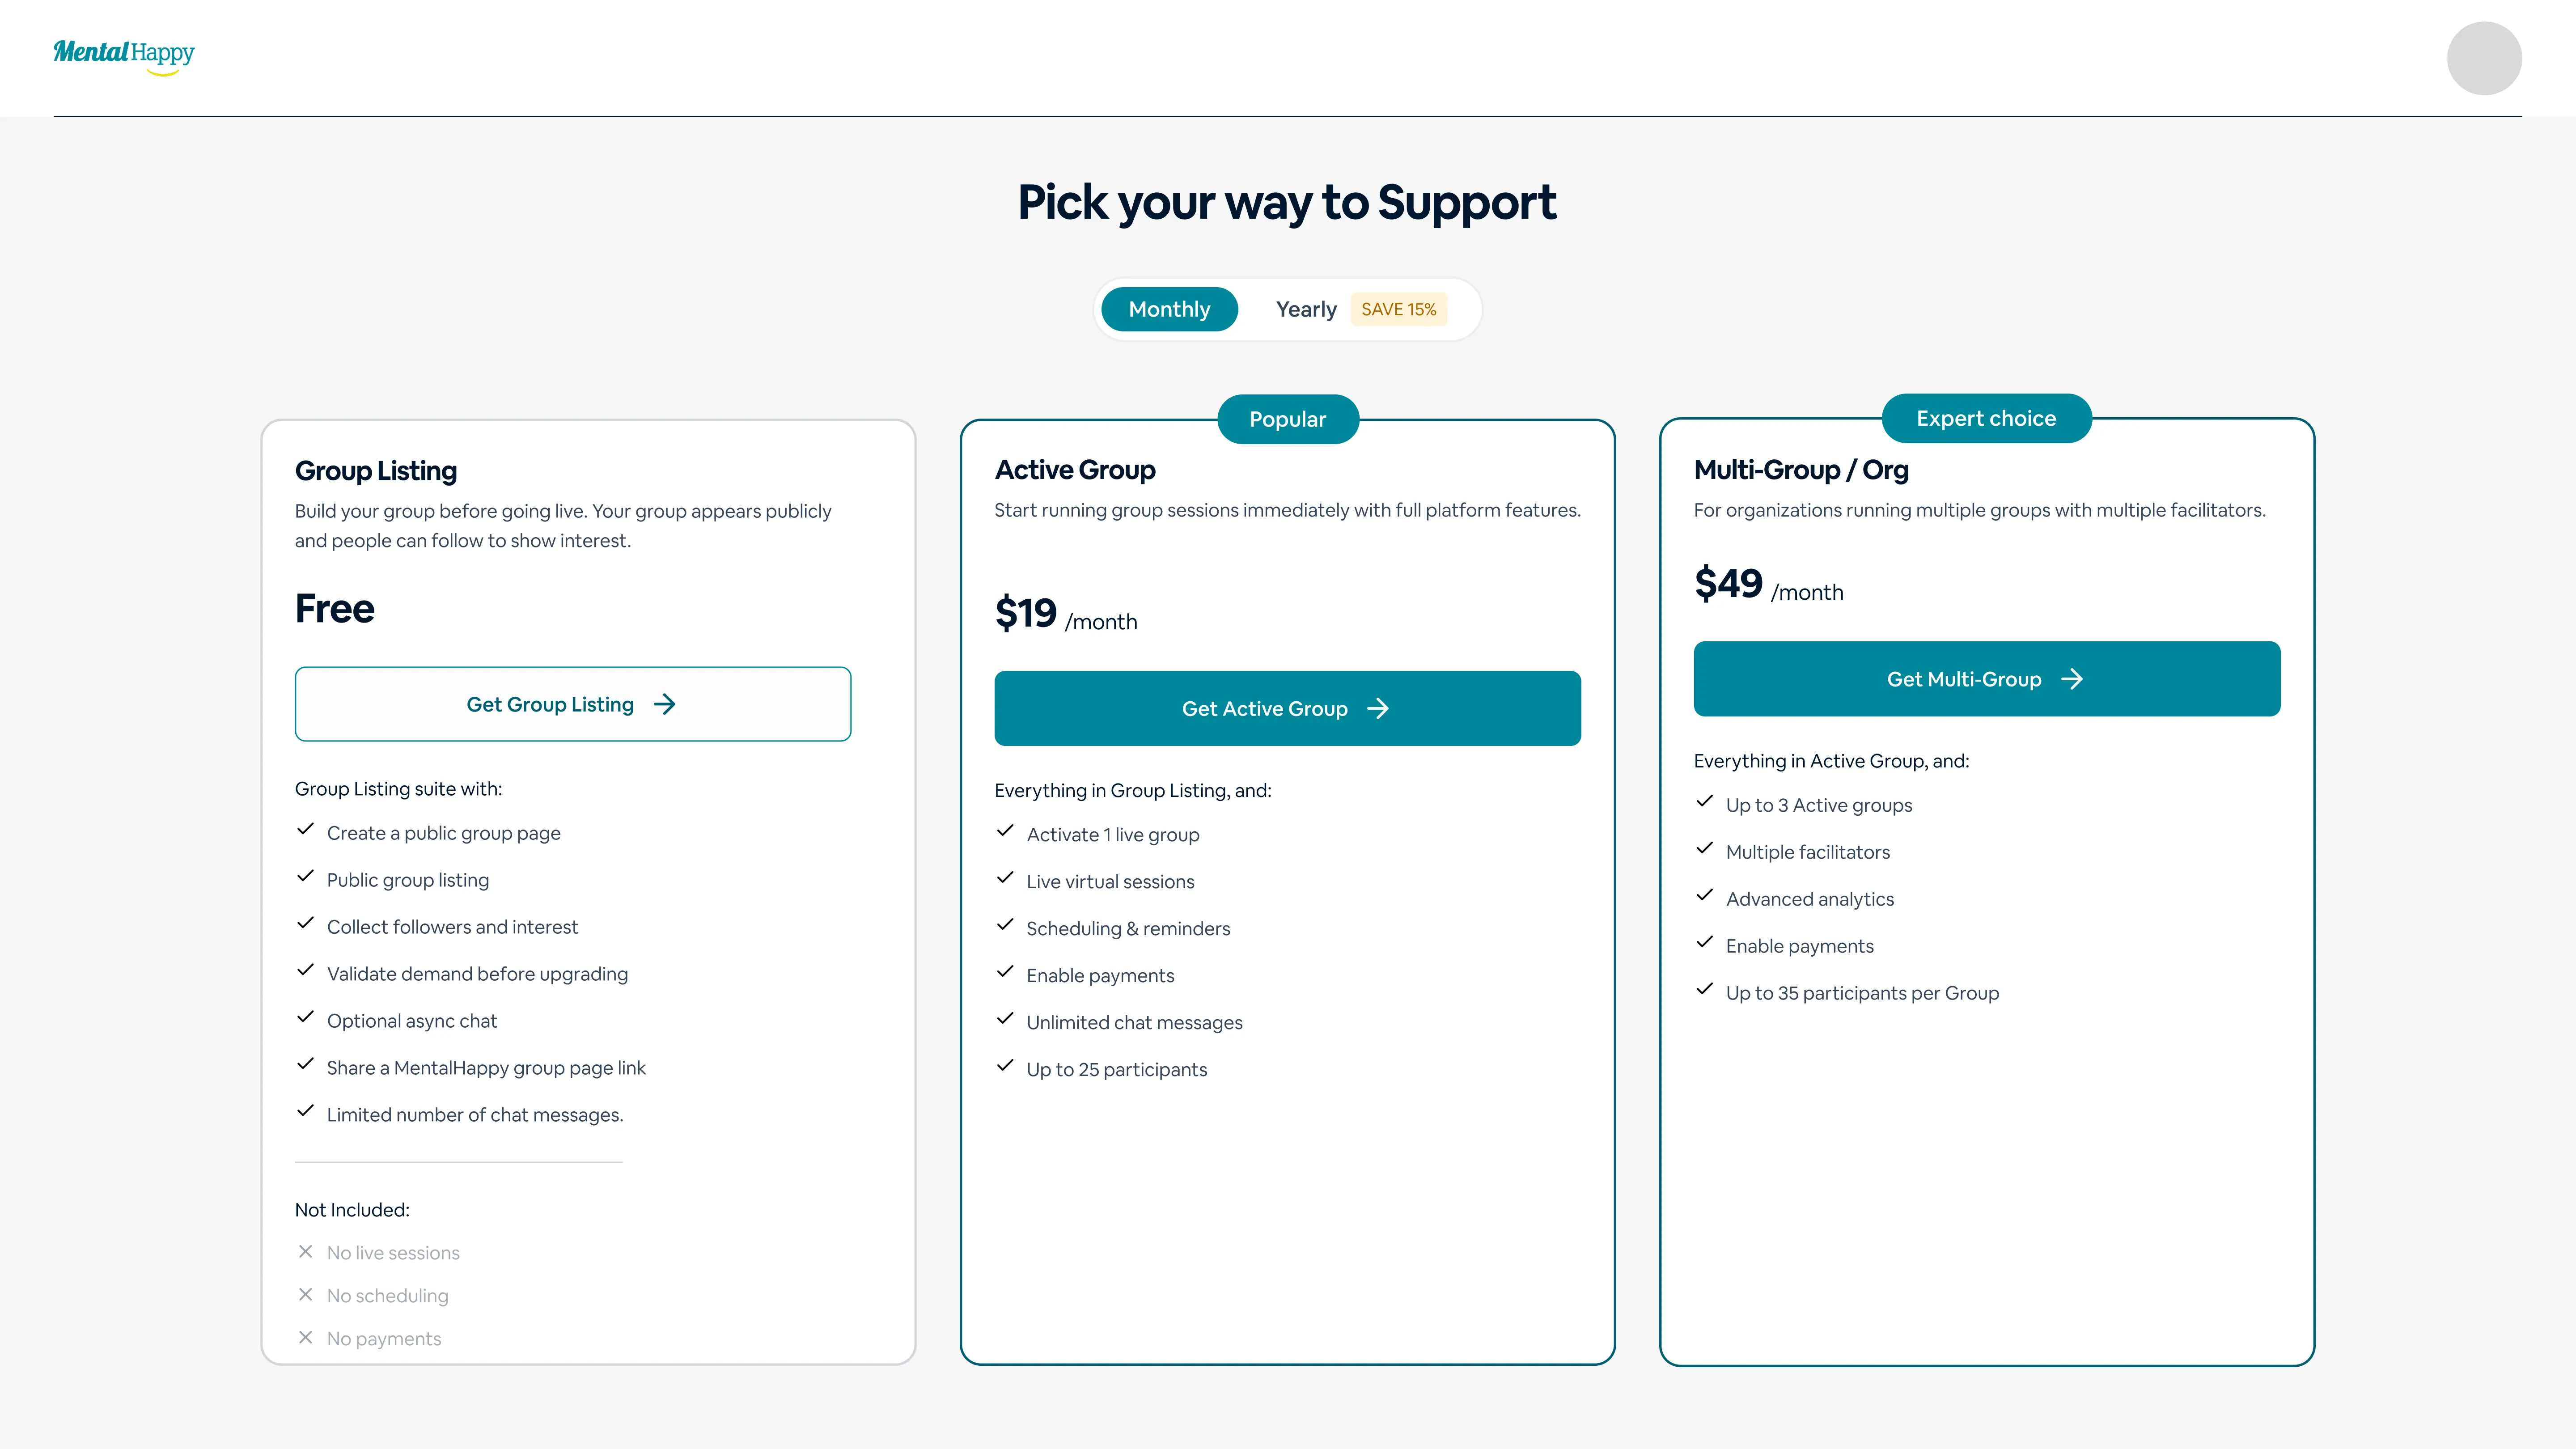
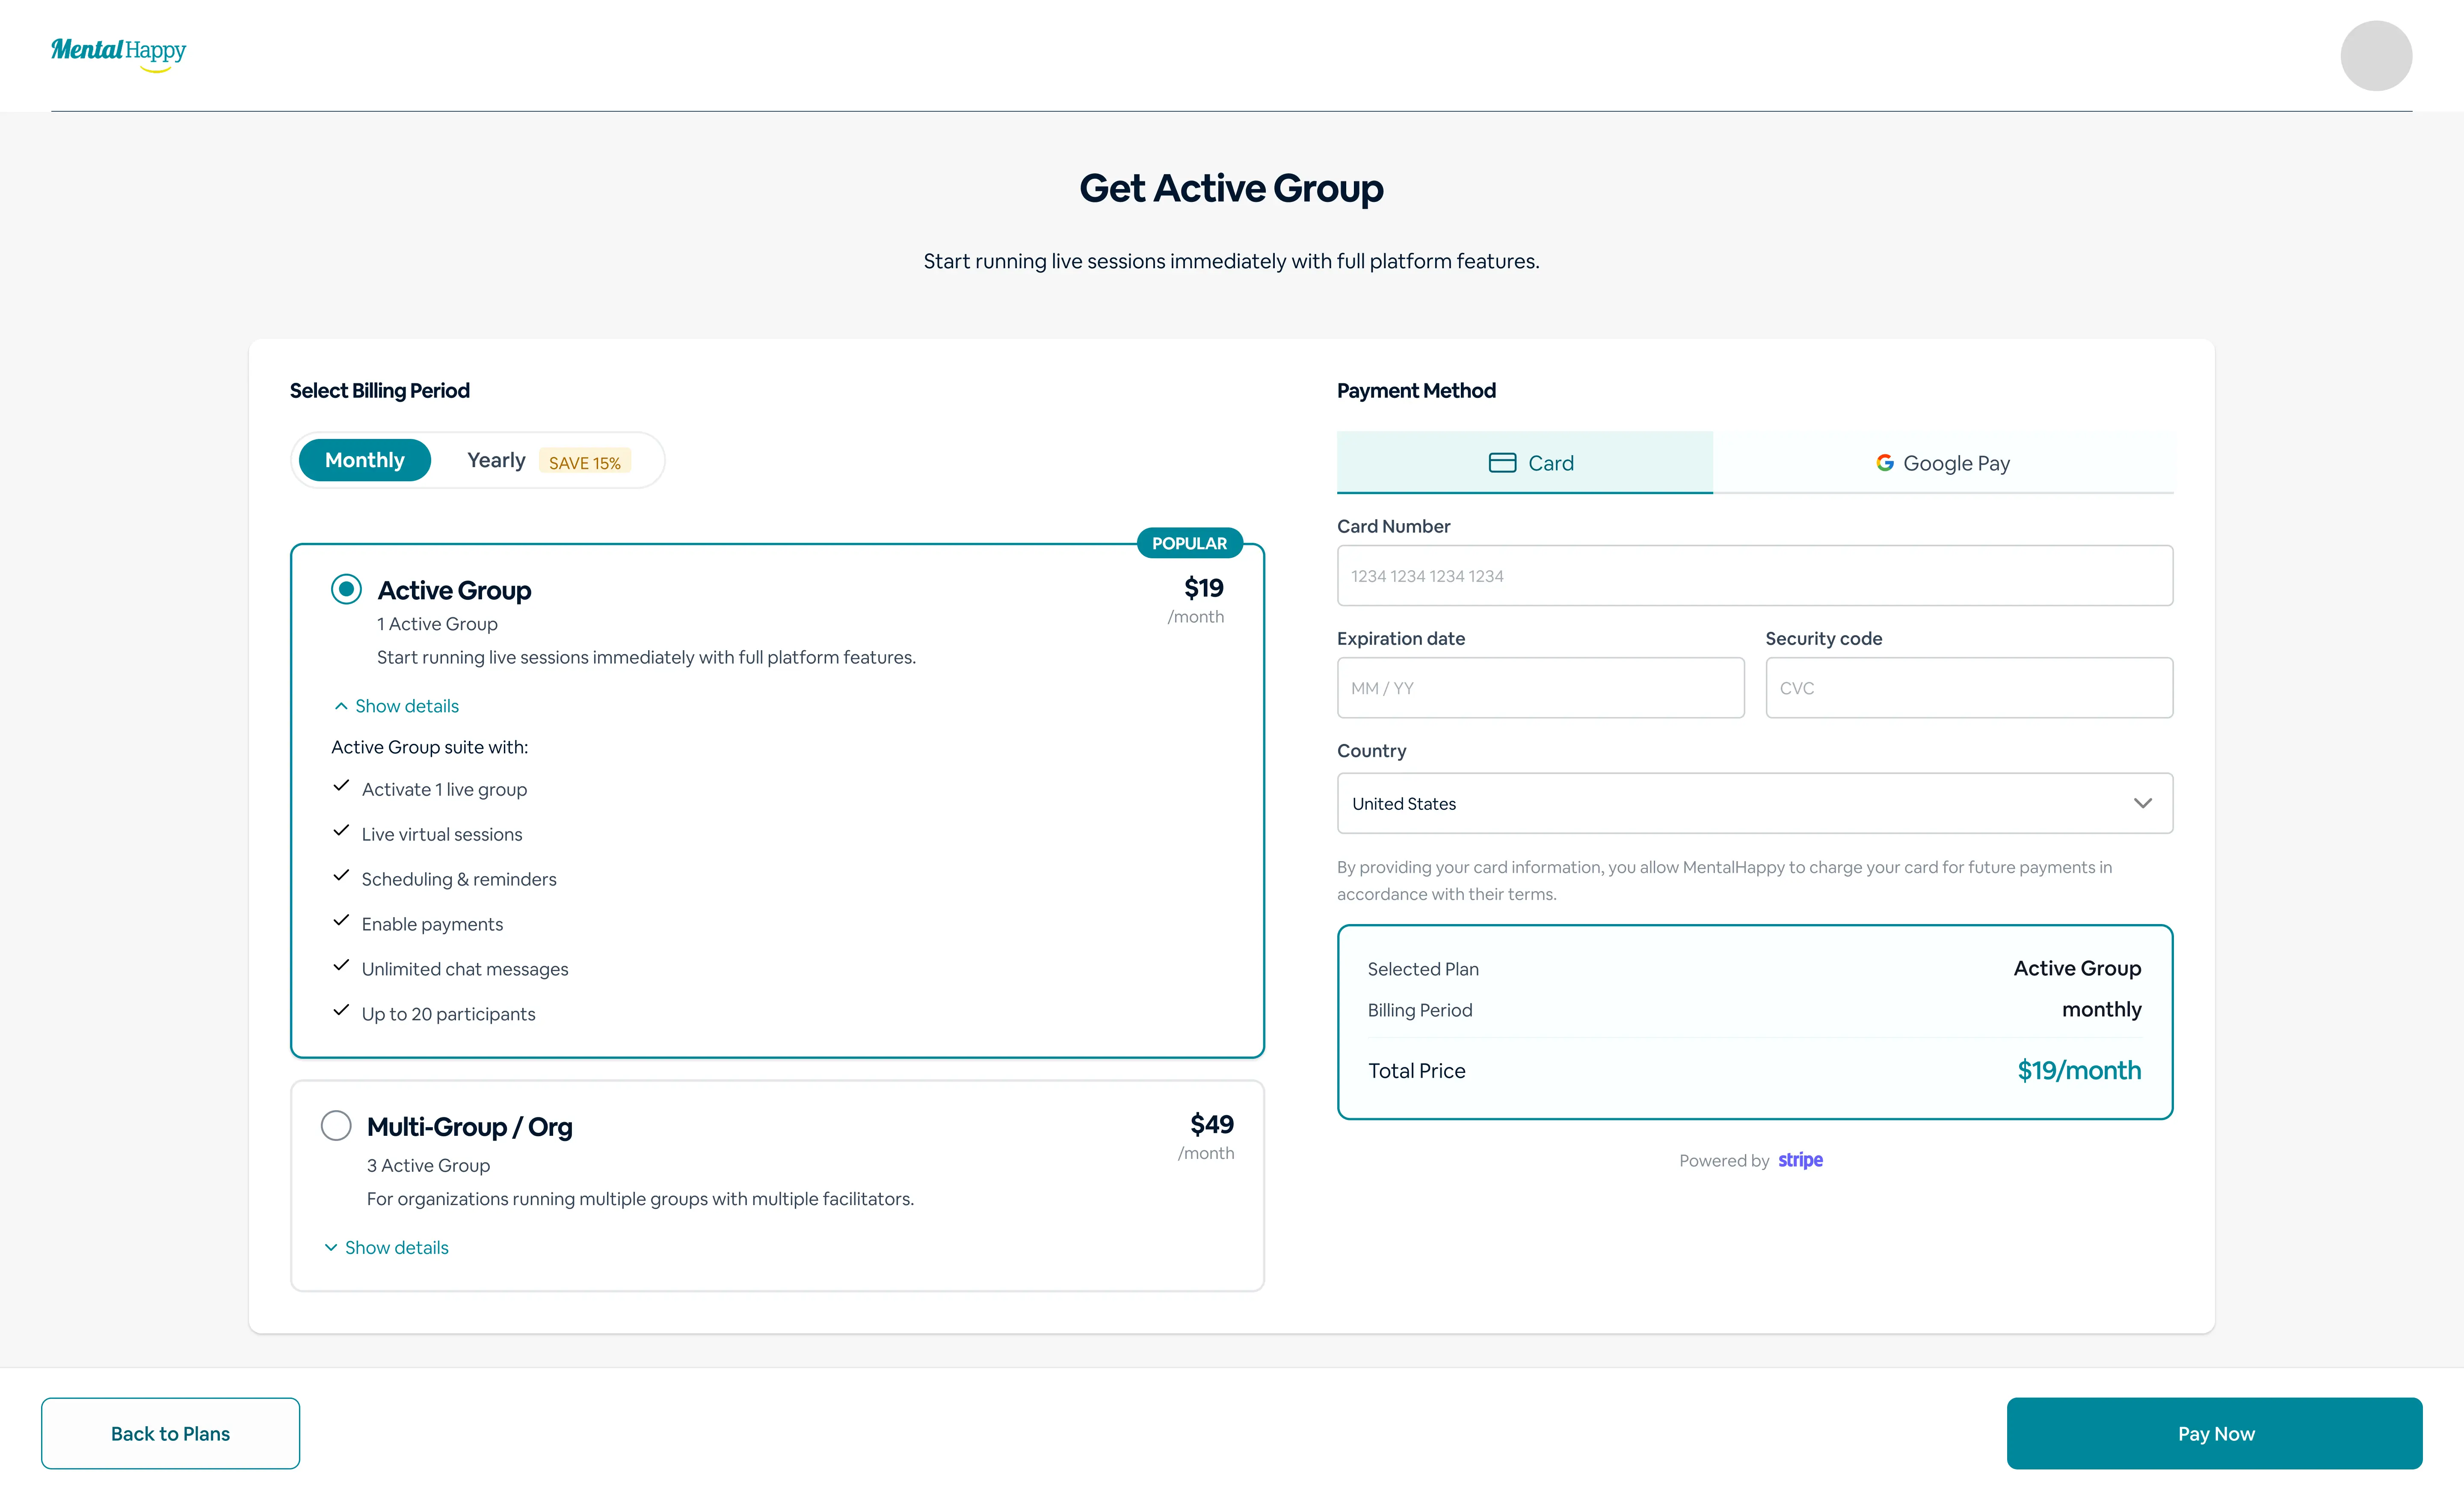
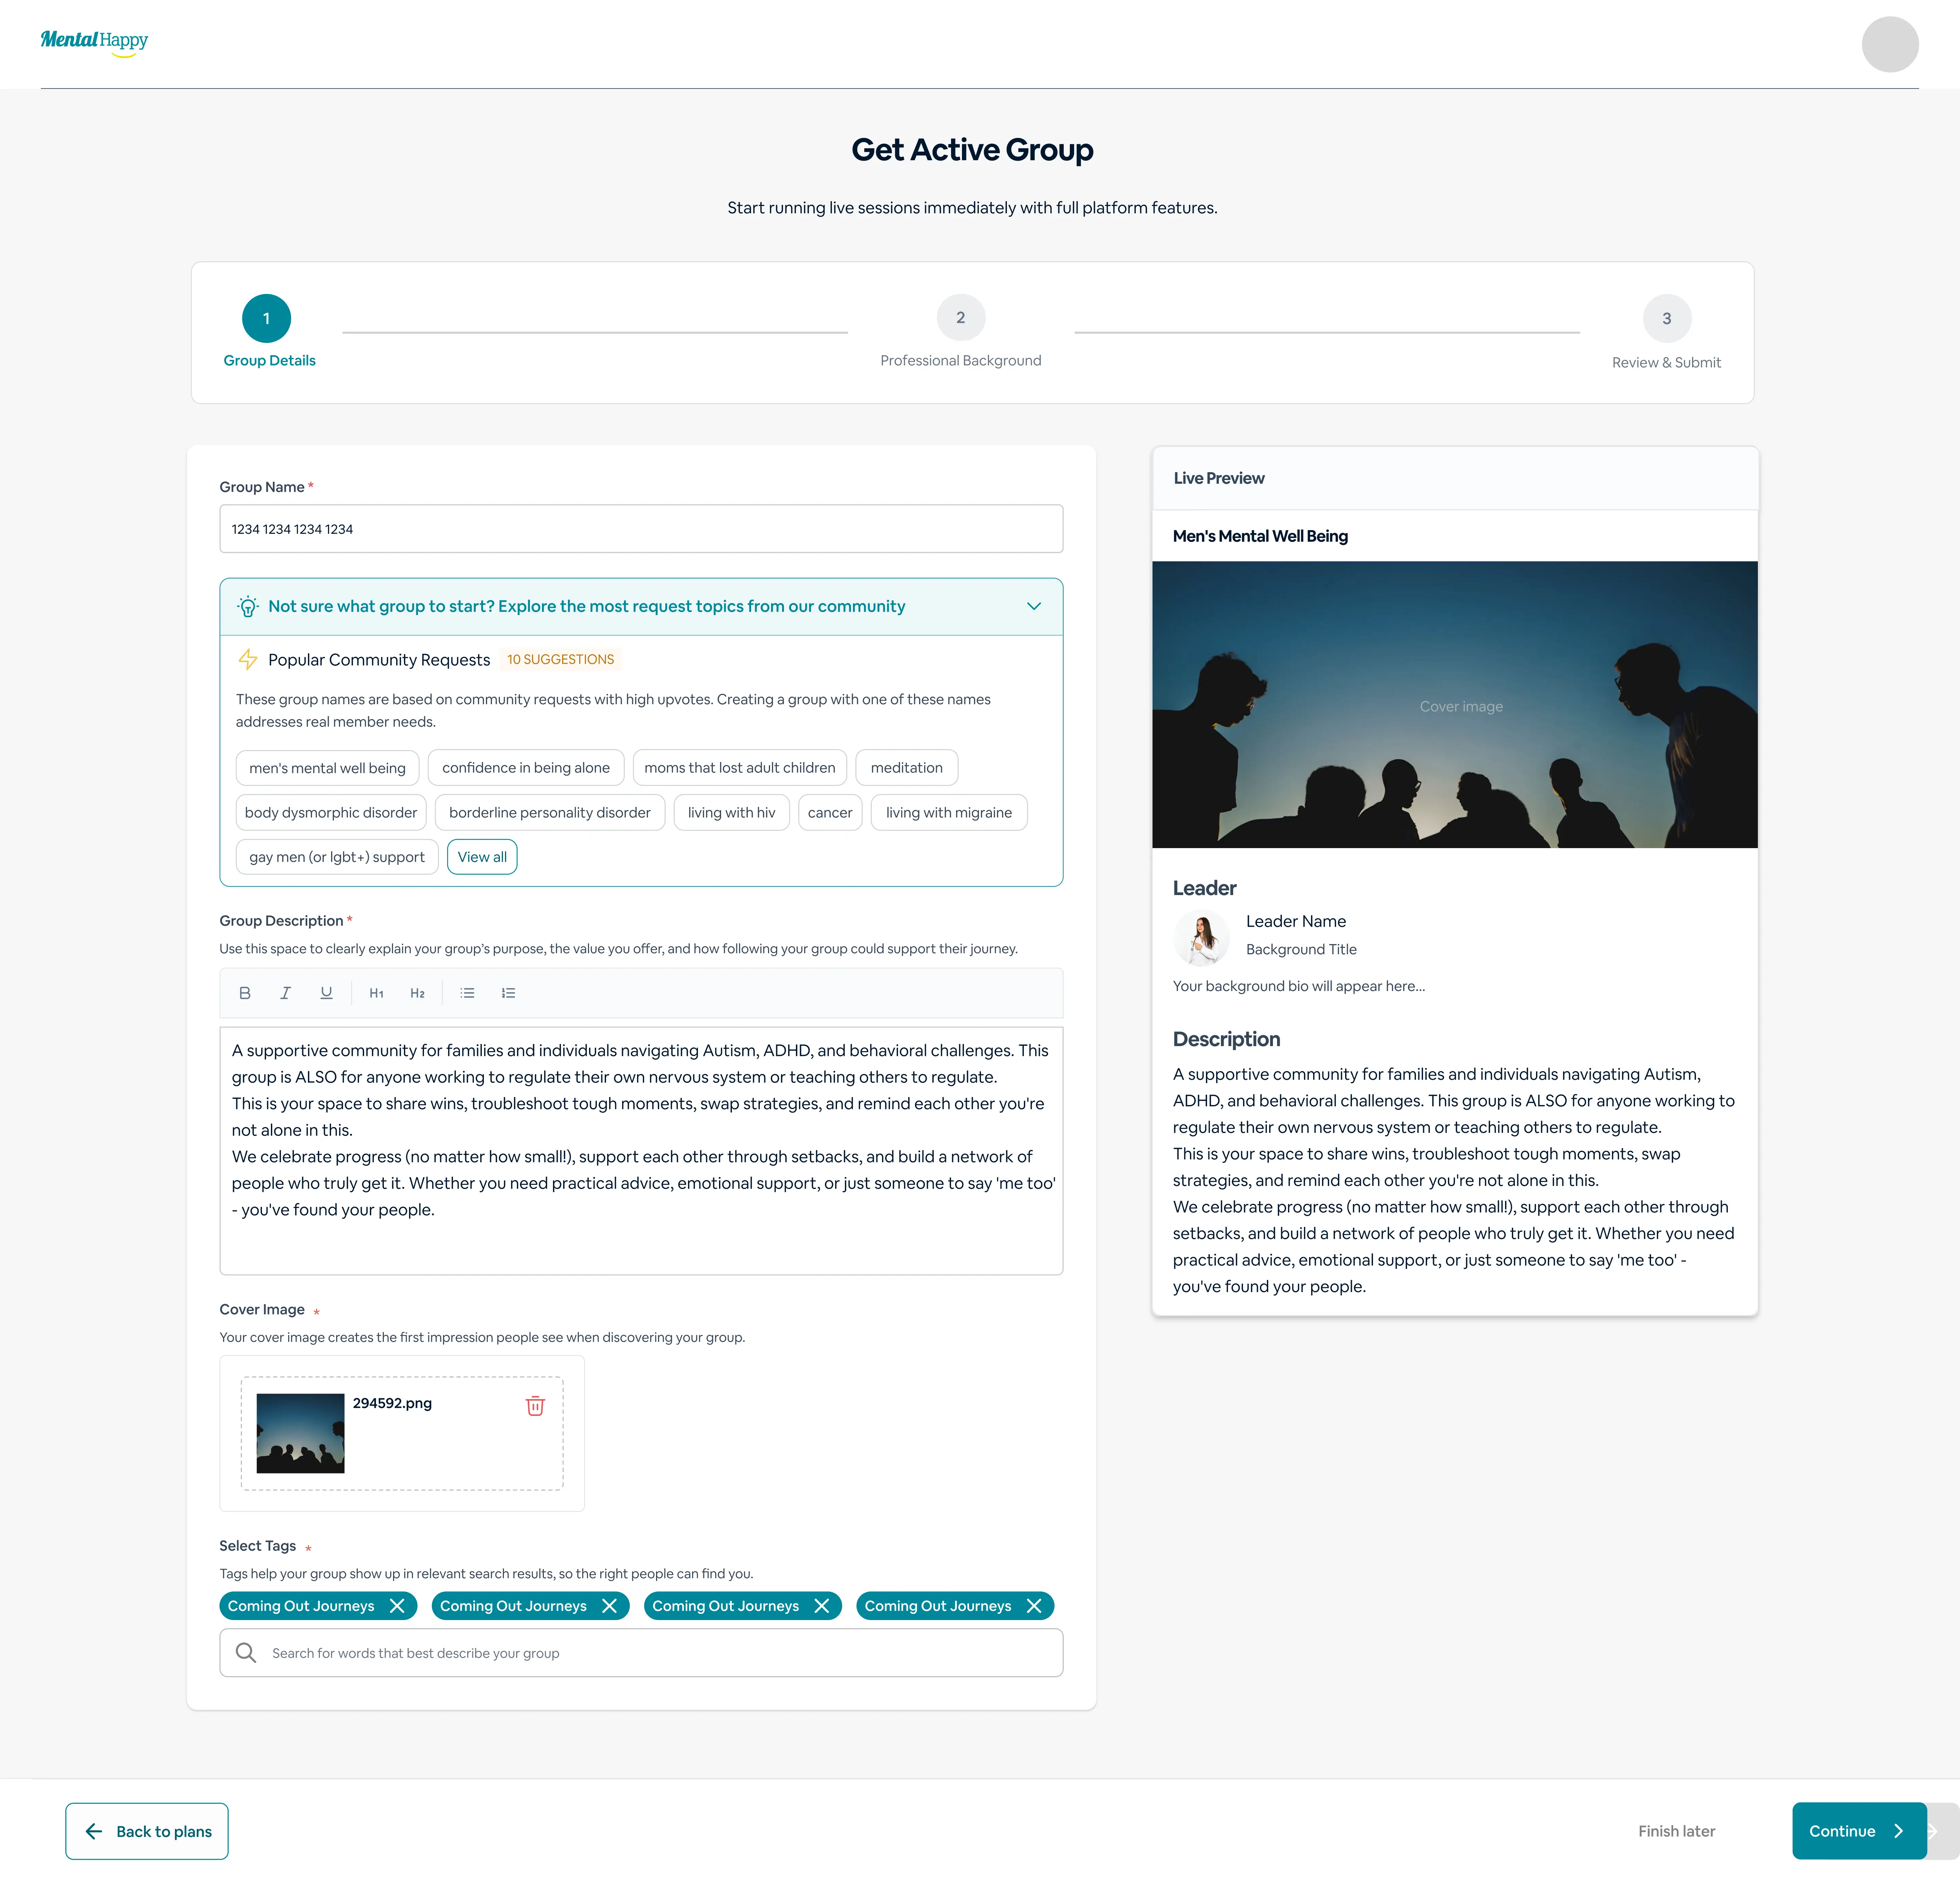
👉 What to do
- Click “Start a Group”
- Sign up or log in
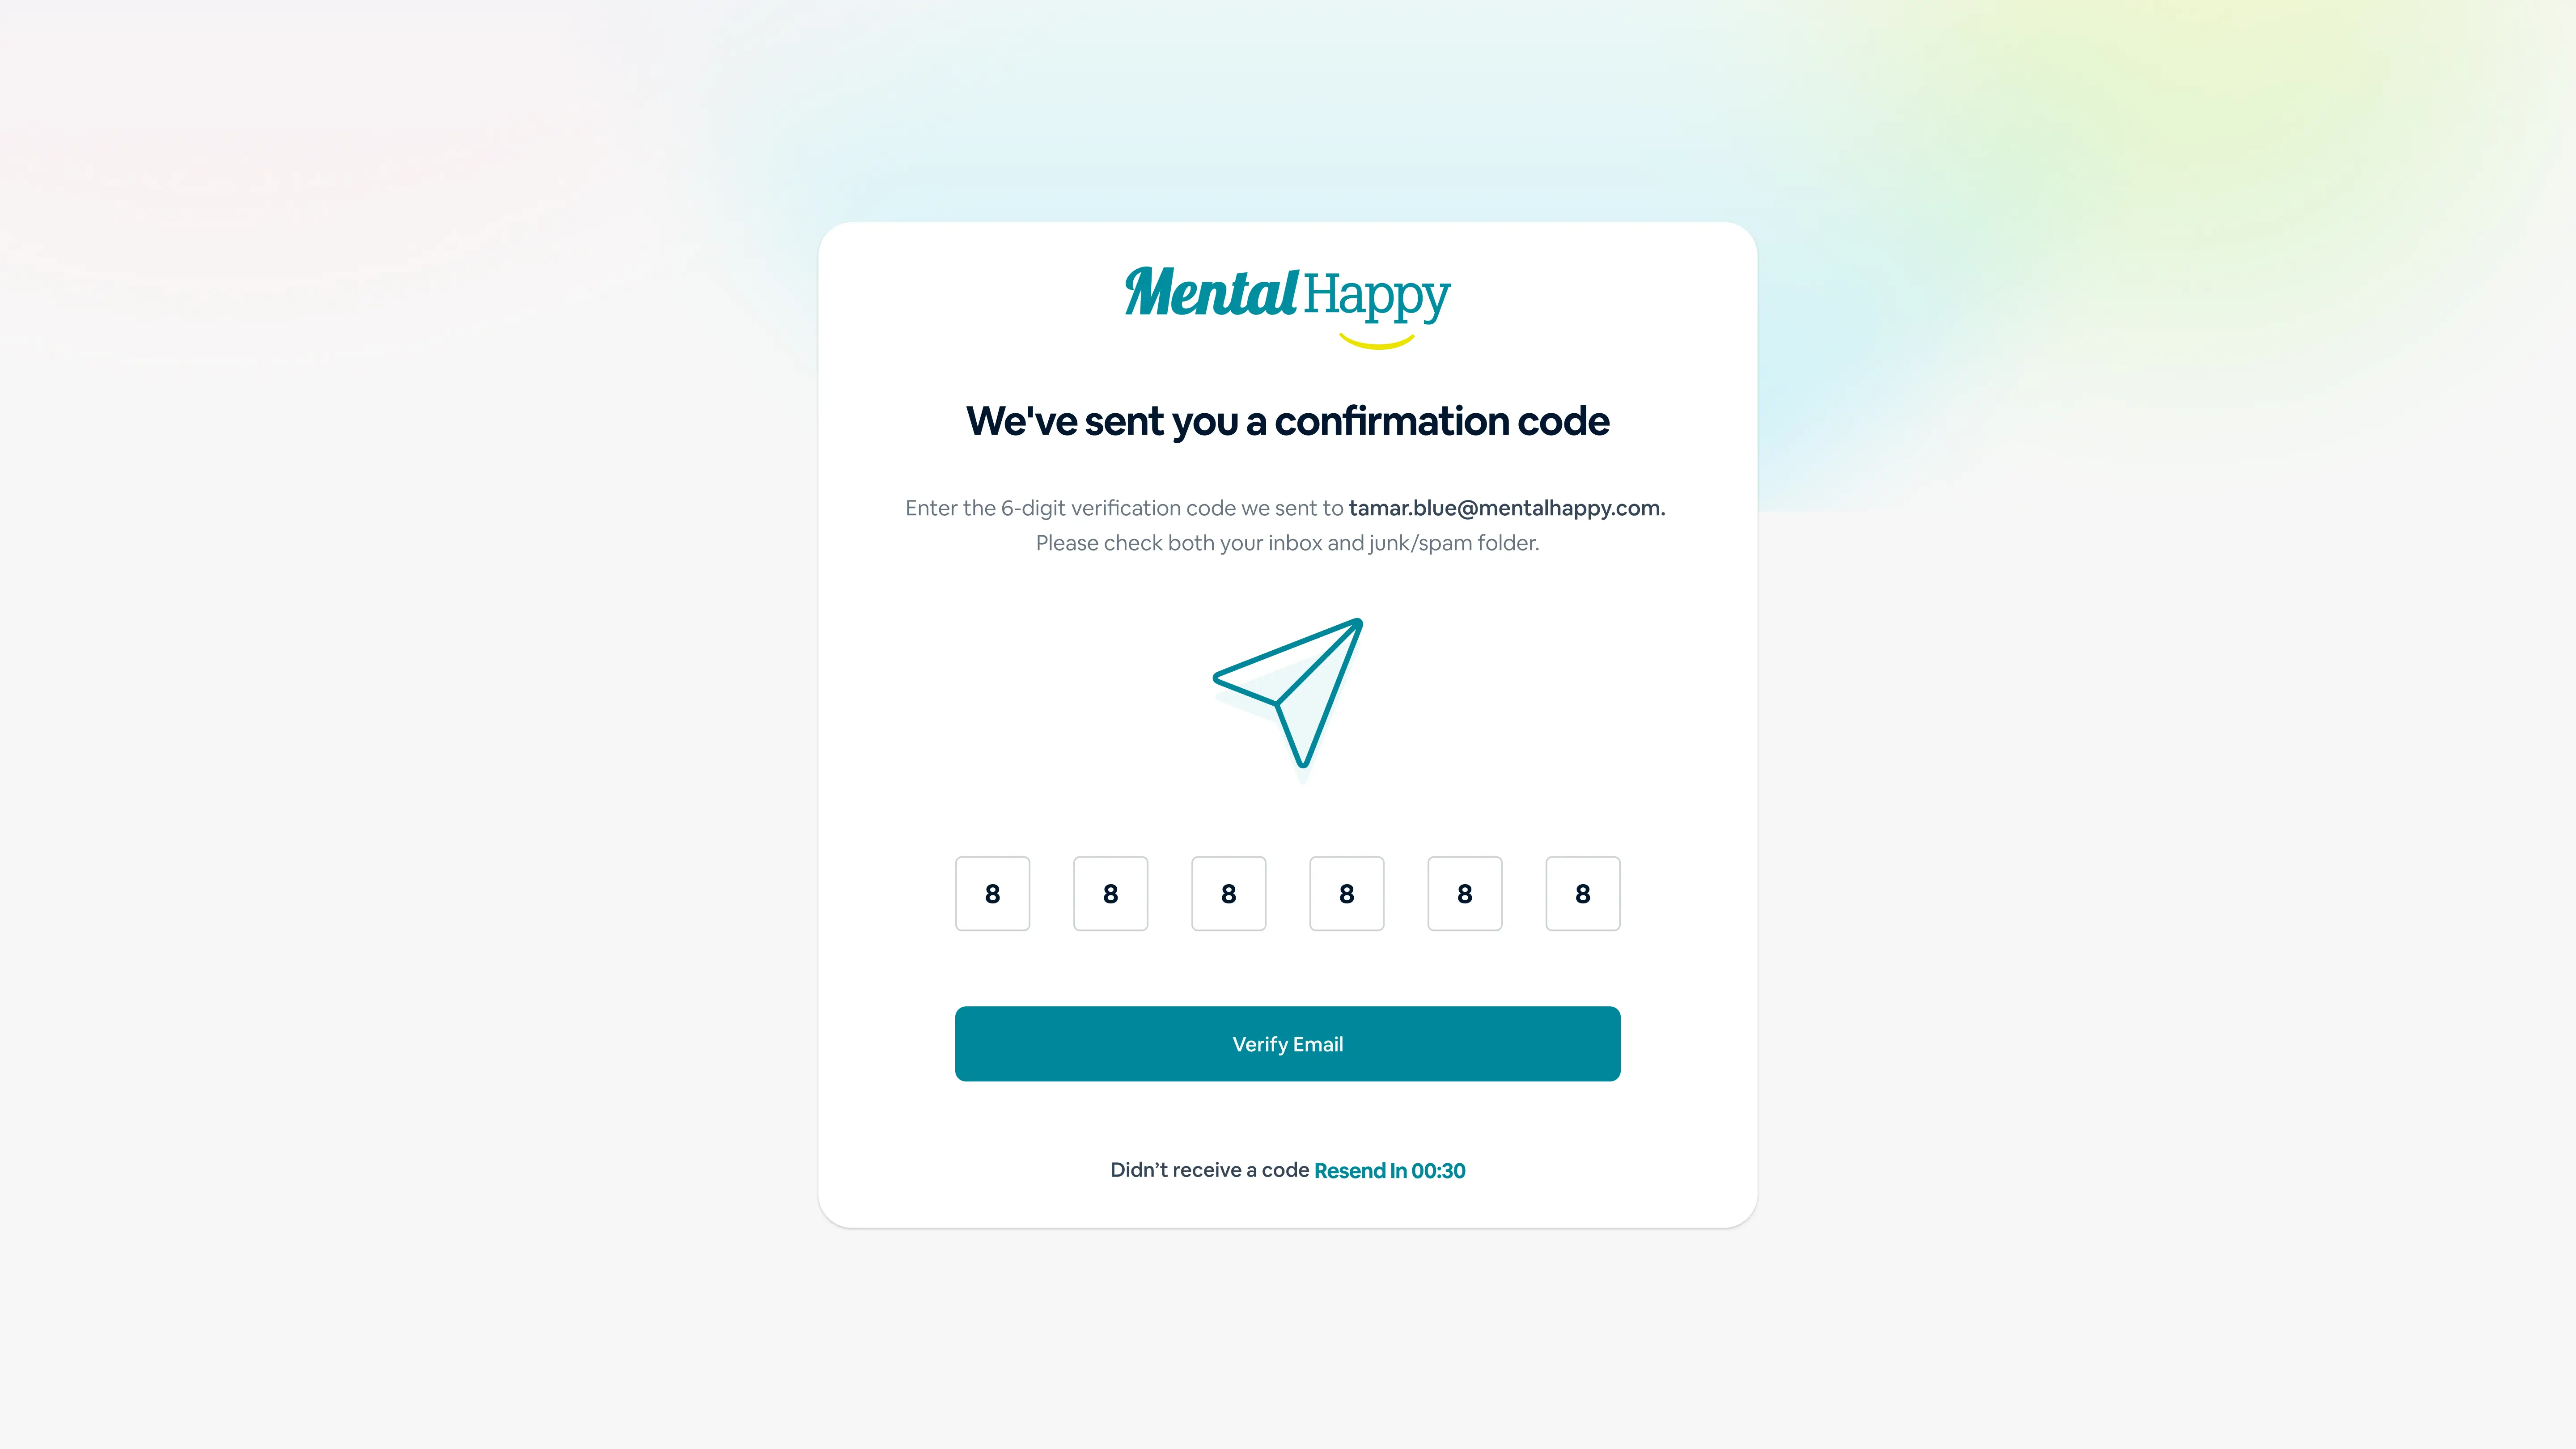
- Verify your email
⚙️ What happens in the system
- Your account is authenticated
- OTP is validated (time-sensitive)
- Your intent to create a group is saved
🎯 Why this matters
This ensures your identity is verified and your progress is not lost.
✨ Tips
- Use the same email for Stripe to avoid payout issues
- Complete OTP quickly before it expires


.svg)